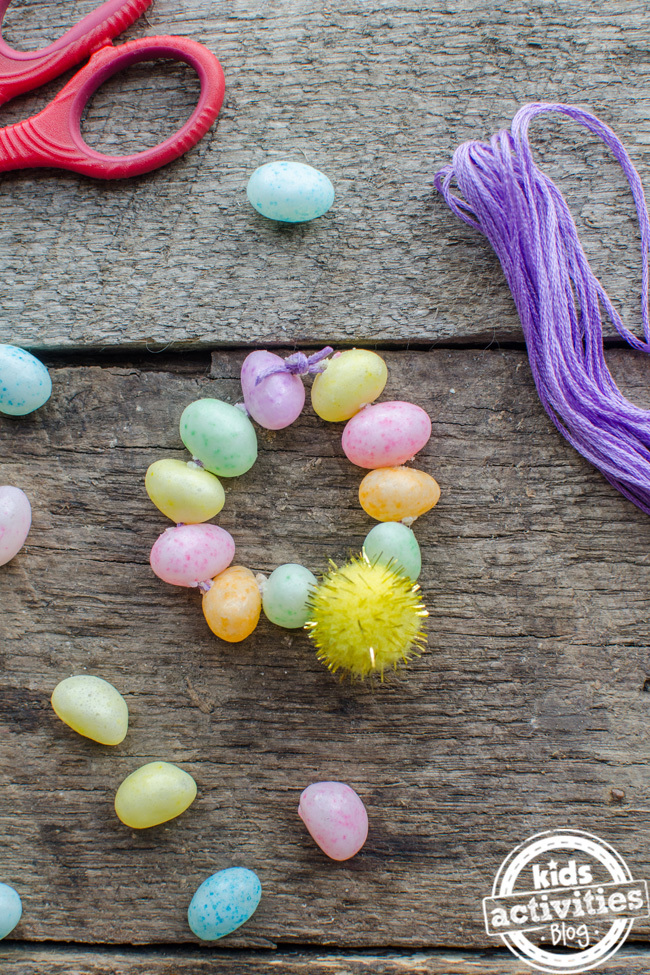
Grab some candy and the kids and let’s Make a Jelly Bean Bracelet! This kids activity makes such a fun Spring or Easter craft.
Let your kid’s creativity soar and they’ll be sure to come up with all sorts of different jellybean jewelry designs. They could even easily turn this jelly bean craft into a jelly bean necklace.

Easter Bracelet
I love a good jelly bean so if you handed me this jelly bean bracelet at a party, I would be that one adult who would take it. Especially if they are gourmet jelly beans.
I am one of those people who savors the flavor of each jelly bean one by one. This is an easy kid activity to do with all those jelly beans you will be gathering around Easter time.
It’s great for fine motor skills practice and you can even have your little ones make patterns to add another educational component to it. Here’s how to make a Jelly Bean Bracelet:
Jelly Bean Bracelet
This jelly bean bracelet is super cute and is a fun way to spend time with your kids. Plus, it doesn’t require that many items to create and none of them are expensive which is always a plus!
Don’t have all the crafting items on hand? No worries! We can help! This post contains affiliate links.
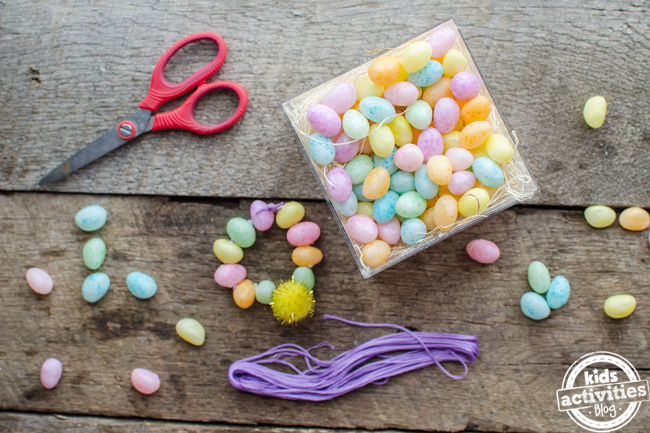
Ingredients Needed To Make This Sweet Easter Bracelet:
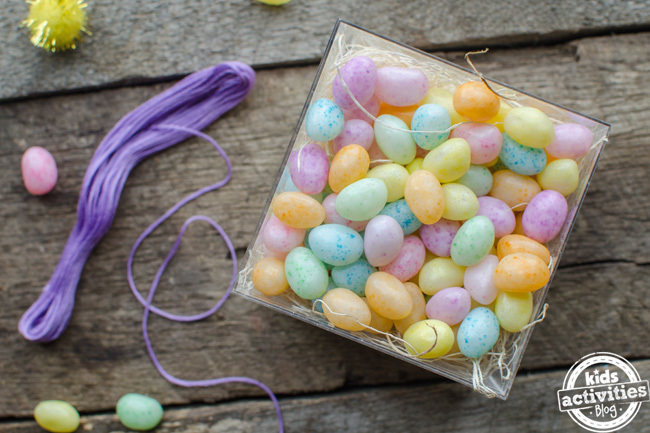
- Jelly beans (we found that the regular size and larger sizes work better)
- Strong thread like embroidery thread or fishing line
- Large needle
- Scissors
- Thick aluminum foil or pom poms (optional)
How To Make This Jelly Bean Easter Bracelet:
- First, using scissors, cut a length of thread two to three times longer than you want your jelly bean bracelet. This is so you’ll have a little extra thread to tie a knot at the end or if you want to make the bracelet a little stronger by doubling the thread up.
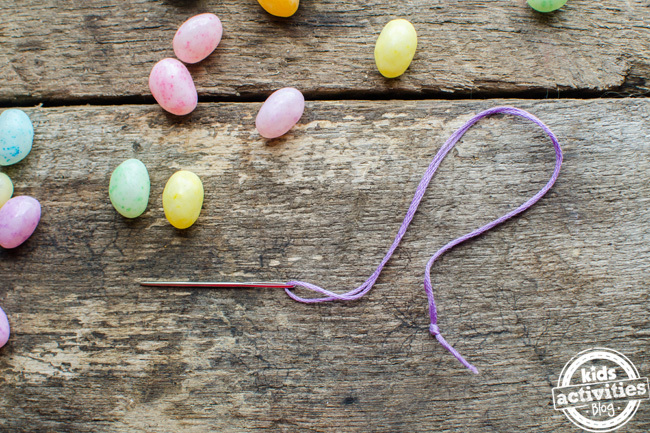
- Tie a knot at the end.
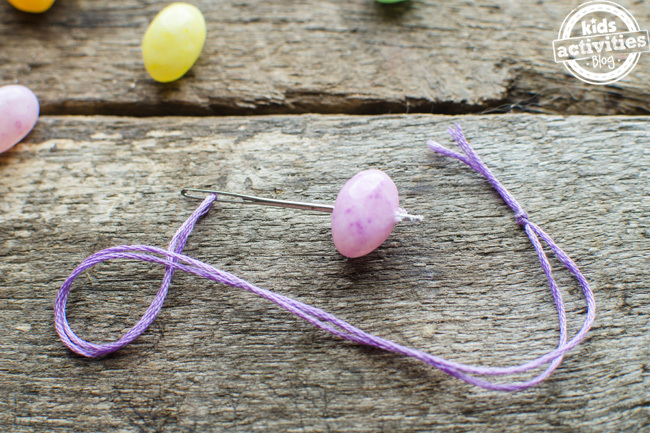
- Next, take your needle and press it into the jelly bean and slide it all the way through. You could use a plastic needle for this step, especially if you have younger children, but older kids can use a large metal needle with a blunt end. An eight-year-old should be able to use a large metal hand sewing needle all by herself.
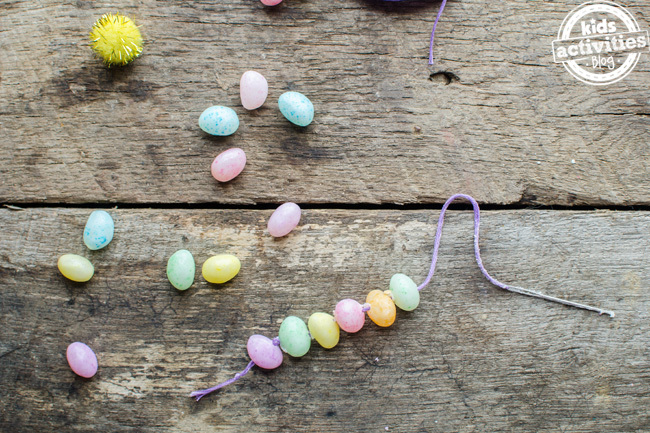
- Continue adding jelly beans, one by one, until it’s the length you want it. We stopped half-way through and added a pom pom for decoration.
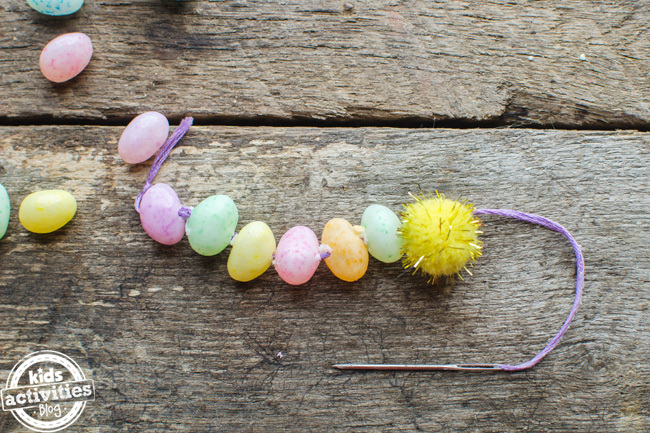
- Finally, once the jelly bean bracelet is how you want it, simply tie a knot at the end and put it on.
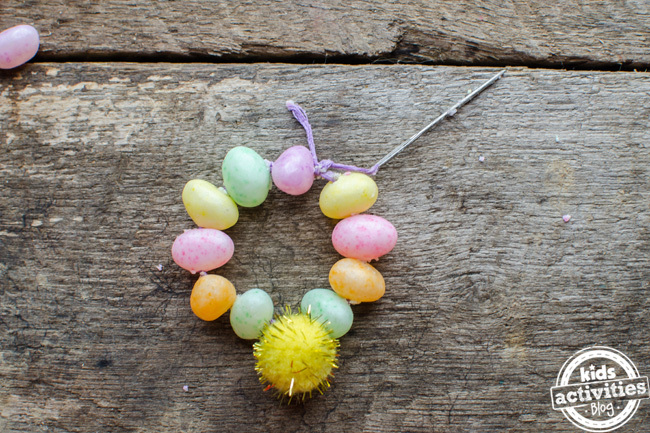
Isn’t it so pretty?!
Note:
I applied a small amount of shortening on the end of needle to make it easy to remove the gunk from the jelly beans.
{“@context”:”http:\/\/schema.org”,”@type”:”HowTo”,”name”:”Make a Jelly Bean Bracelet! {SWEET EASTER CRAFT}”,”author”:{“@type”:”Person”,”name”:”Mari”},”datePublished”:”2021-03-15″,”description”:”Let's Make a Jelly Bean Bracelet! Kids love making and wearing their own jewelry. They'll love this simple and easy spring inspired Easter craft!”,”about”:”craft”,”image”:[“https:\/\/kidsactivitiesblog.com\/wp-content\/uploads\/2015\/03\/easter-bracelet-craft-12-480×480.jpg”,”https:\/\/kidsactivitiesblog.com\/wp-content\/uploads\/2015\/03\/easter-bracelet-craft-12-480×360.jpg”,”https:\/\/kidsactivitiesblog.com\/wp-content\/uploads\/2015\/03\/easter-bracelet-craft-12-480×270.jpg”,”https:\/\/kidsactivitiesblog.com\/wp-content\/uploads\/2015\/03\/easter-bracelet-craft-12.jpg”],”totalTime”:”PT0S”,”supply”:[“Jelly beans (we found that the regular size and larger sizes work better)”,”Strong thread like embroidery thread or fishing line”,”Large needle”,”Scissors”,”Thick aluminum foil or pom poms (optional)”],”step”:”First, using scissors, cut a length of thread two to three times longer than you want your jelly bean bracelet. This is so you’ll have a little extra thread to tie a knot at the end or if you want to make the bracelet a little stronger by doubling the thread up.\n\nTie a knot at the end.\n\nNext, take your needle and press it into the jelly bean and slide it all the way through.\n\nContinue adding jelly beans, one by one, until it’s the length you want it. We stopped half-way through and added a pom pom for decoration.\n\nFinally, once the jelly bean bracelet is how you want it, simply tie a knot at the end and put it on.”,”url”:”https:\/\/kidsactivitiesblog.com\/25956\/easter-craft\/”}
Make a Jelly Bean Bracelet! {SWEET EASTER CRAFT}

Let's Make a Jelly Bean Bracelet! Kids love making and wearing their own jewelry. They'll love this simple and easy spring inspired Easter craft!
Materials
- Jelly beans (we found that the regular size and larger sizes work better)
- Strong thread like embroidery thread or fishing line
- Large needle
- Scissors
- Thick aluminum foil or pom poms (optional)
Instructions
First, using scissors, cut a length of thread two to three times longer than you want your jelly bean bracelet. This is so you’ll have a little extra thread to tie a knot at the end or if you want to make the bracelet a little stronger by doubling the thread up.
Tie a knot at the end.
Next, take your needle and press it into the jelly bean and slide it all the way through.
Continue adding jelly beans, one by one, until it’s the length you want it. We stopped half-way through and added a pom pom for decoration.
Finally, once the jelly bean bracelet is how you want it, simply tie a knot at the end and put it on.
Notes
You could use a plastic needle for this step, especially if you have younger children, but older kids can use a large metal needle with a blunt end.
I applied a small amount of shortening on the end of needle to make it easy to remove the gunk from the jelly beans.
More Easter Activities For Kids
Don’t you love an Easter craft that involves candy? If you enjoyed that Easter activity then you’ll love these other Easter crafts and activities as well!
- Make an Easter Bunny with Paper Plates {Easter Craft}
- How To Draw An Easter Bunny
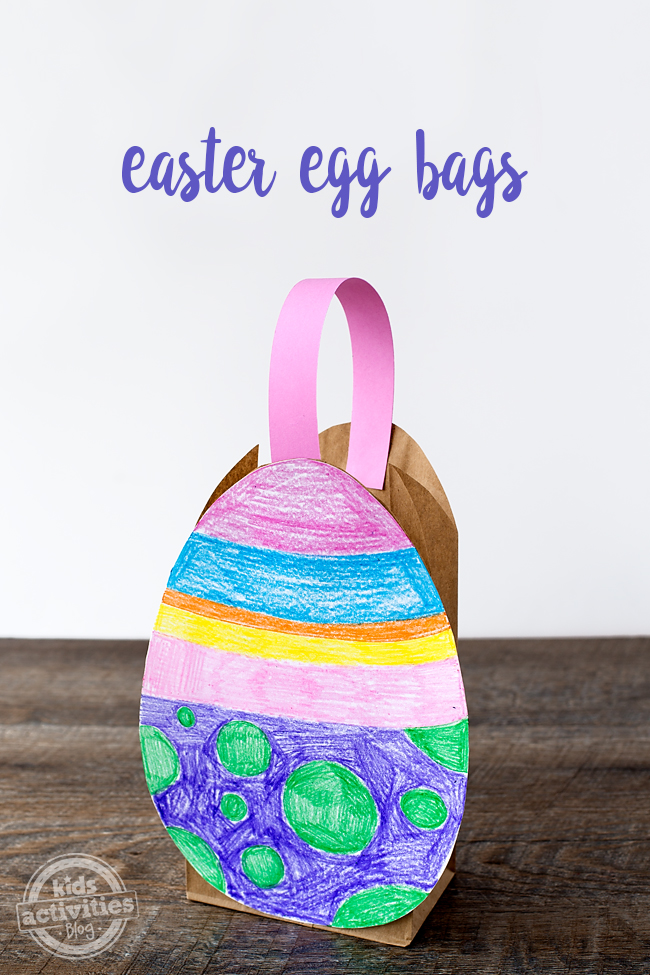
- DIY Easter Egg Bag
Looking for more Easter activities? We have nearly 100 to choose from.
