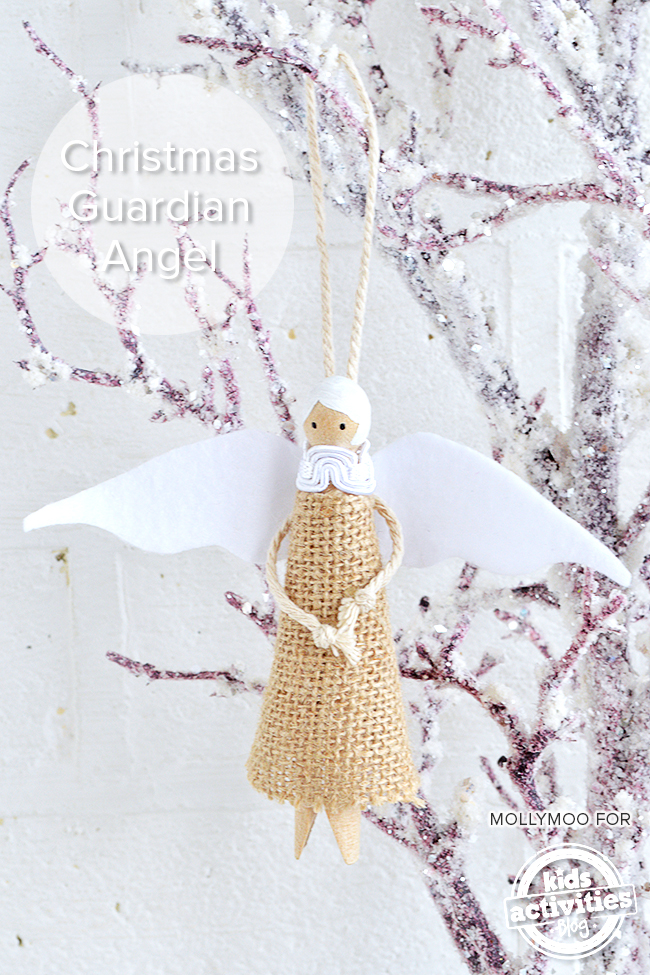
Introducing our Christmas Guardian Angel – a modest clothes peg angel to hang on the Christmas tree or bed post.
Make one with each of your children – a keepsake tree decoration for years to come. This DIY Christmas tree decoration is fun for you and the kids.

(this post includes affiliate links)
DIY Christmas Angels
Everyone needs a guardian angel and these angels make the greatest gifts. Not just for just for the holidays and the Christmas tree, but these are great gifts for family, friends, and first responders.
Many first responders will hang guardian angel ornaments in their cars.
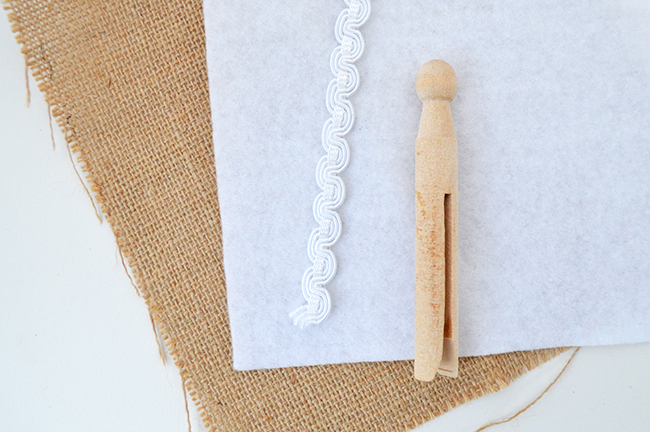
Supplies Needed To Make DIY Christmas Angels
- Wooden clothespeg
- Muslin or any fabric scrap (for the dress)
- Twine (for the arms)
- White felt (for the wings)
- White and black paint
- Lace trim (for the neckline)
- Glue gun
How To Make Guardian Angel Christmas Tree Ornament
Begin by cutting your muslin or fabric into a semi circle. Scale so that the pretty toes peek through underneath.
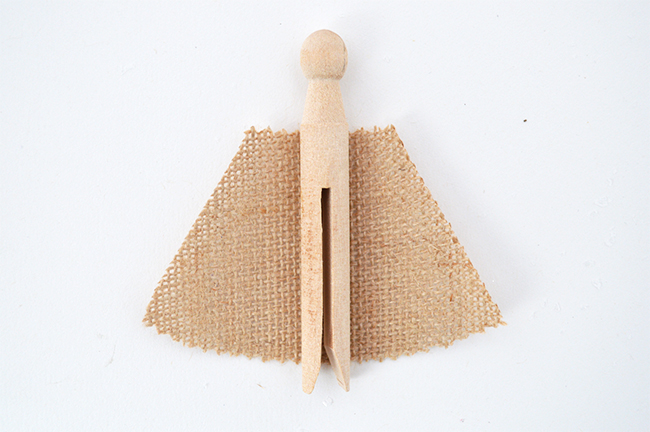
Glue around the clothespeg so it hangs in an a-line shape. Glue the centre of a length of twine at the back and knot the ends for the hands.
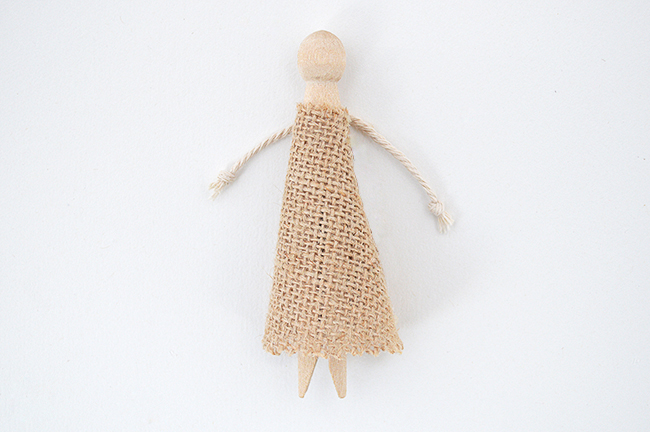
Next glue the white felt wings at the back of the peg body.
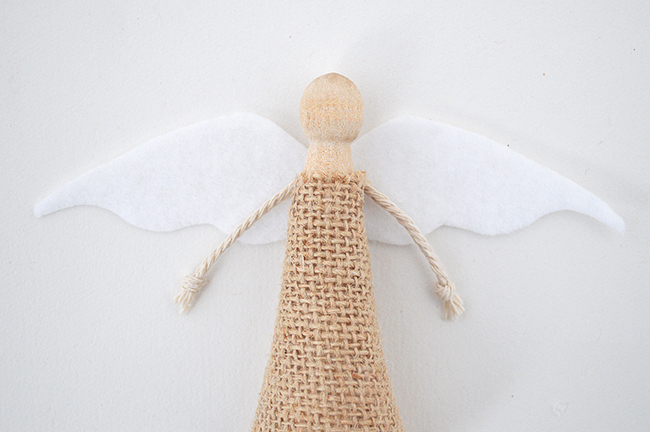
Glue a piece of your lace trim around the neck. And fix the hands to the front with a dot of glue per hand.
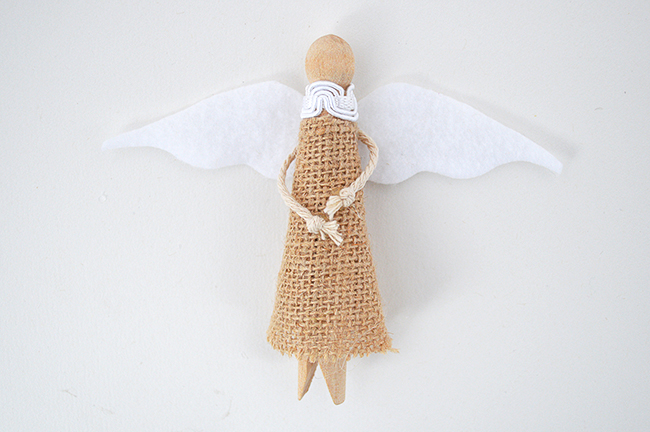
Finally paint on some hair with white acrylic paint, and dot the eyes with a very thin brush dipped in black paint
(tip: avoid using black markers as they bleed on the wood)
AND glue on another piece of twine to the back of your finished angel for hanging on your tree, bed or bedroom door.
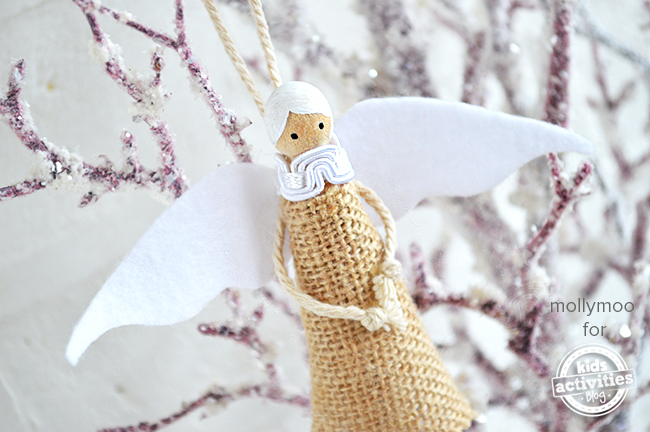
I hope my sweet peg doll angel brings peace and good will to your home for the holidays.
Happy Crafting
Michelle
MollyMooCrafts
xx
{“@context”:”http:\/\/schema.org”,”@type”:”HowTo”,”name”:”Guardian Angel Peg Doll – DIY Christmas Tree Decoration”,”author”:{“@type”:”Person”,”name”:”Michelle McInerney | MollyMoo”},”datePublished”:”2020-11-12″,”description”:”These DIY Christmas angels look great on the Christmas tree or make wonderful gifts! They have a classic look and are easy to make.”,”about”:”DIY”,”image”:[“https:\/\/kidsactivitiesblog.com\/wp-content\/uploads\/2014\/10\/christmas-angel-FB-320×320.jpg”,”https:\/\/kidsactivitiesblog.com\/wp-content\/uploads\/2014\/10\/christmas-angel-FB-480×360.jpg”,”https:\/\/kidsactivitiesblog.com\/wp-content\/uploads\/2014\/10\/christmas-angel-FB-480×270.jpg”,”https:\/\/kidsactivitiesblog.com\/wp-content\/uploads\/2014\/10\/christmas-angel-FB.jpg”],”prepTime”:”PT10M”,”performTime”:”PT30M”,”totalTime”:”PT40M”,”supply”:[“Wooden clothespeg”,”Muslin or any fabric scrap (for the dress)”,”Twine (for the arms)”,”White felt (for the wings)”,”White and black paint”,”Lace trim (for the neckline)”,”Glue gun”],”step”:[{“@type”:”HowToStep”,”text”:”Begin by cutting your muslin or fabric into a semi circle. Scale so that the pretty toes peek through underneath.”,”position”:1,”name”:”Begin by cutting your muslin or fabric into…”,”url”:”https:\/\/kidsactivitiesblog.com\/62587\/angel-christmas-tree-decoration\/#mv_create_161_1″},{“@type”:”HowToStep”,”text”:”Glue around the clothespeg so it hangs in an a-line shape. Glue the centre of a length of twine at the back and knot the ends for the hands.”,”position”:2,”name”:”Glue around the clothespeg so it hangs in…”,”url”:”https:\/\/kidsactivitiesblog.com\/62587\/angel-christmas-tree-decoration\/#mv_create_161_2″},{“@type”:”HowToStep”,”text”:”Next glue the white felt wings at the back of the peg body.”,”position”:3,”name”:”Next glue the white felt wings at the…”,”url”:”https:\/\/kidsactivitiesblog.com\/62587\/angel-christmas-tree-decoration\/#mv_create_161_3″},{“@type”:”HowToStep”,”text”:”Glue a piece of your lace trim around the neck. And fix the hands to the front with a dot of glue per hand.”,”position”:4,”name”:”Glue a piece of your lace trim around…”,”url”:”https:\/\/kidsactivitiesblog.com\/62587\/angel-christmas-tree-decoration\/#mv_create_161_4″},{“@type”:”HowToStep”,”text”:”Finally paint on some hair with\u00a0white acrylic paint, and dot the eyes with a very thin brush dipped in black paint(tip: avoid using black markers as they bleed on the wood)”,”position”:5,”name”:”Finally paint on some hair with\u00a0white acrylic paint,…”,”url”:”https:\/\/kidsactivitiesblog.com\/62587\/angel-christmas-tree-decoration\/#mv_create_161_5″},{“@type”:”HowToStep”,”text”:”AND glue on another piece of twine to the back of your finished angel for hanging on your tree, bed or bedroom door.”,”position”:6,”name”:”AND glue on another piece of twine to…”,”url”:”https:\/\/kidsactivitiesblog.com\/62587\/angel-christmas-tree-decoration\/#mv_create_161_6″}],”url”:”https:\/\/kidsactivitiesblog.com\/62587\/angel-christmas-tree-decoration\/”}
Guardian Angel Peg Doll – DIY Christmas Tree Decoration

These DIY Christmas angels look great on the Christmas tree or make wonderful gifts! They have a classic look and are easy to make.
Prep Time
10 minutes
Active Time
25 minutes
Additional Time
5 minutes
Total Time
40 minutes
Difficulty
easy
Estimated Cost
$15-$20
Materials
- Wooden clothespeg
- Muslin or any fabric scrap (for the dress)
- Twine (for the arms)
- White felt (for the wings)
- White and black paint
- Lace trim (for the neckline)
- Glue gun
Instructions
- Begin by cutting your muslin or fabric into a semi circle. Scale so that the pretty toes peek through underneath.
- Glue around the clothespeg so it hangs in an a-line shape. Glue the centre of a length of twine at the back and knot the ends for the hands.
- Next glue the white felt wings at the back of the peg body.
- Glue a piece of your lace trim around the neck. And fix the hands to the front with a dot of glue per hand.
- Finally paint on some hair with white acrylic paint, and dot the eyes with a very thin brush dipped in black paint(tip: avoid using black markers as they bleed on the wood)
- AND glue on another piece of twine to the back of your finished angel for hanging on your tree, bed or bedroom door.
More Christmas Crafts!
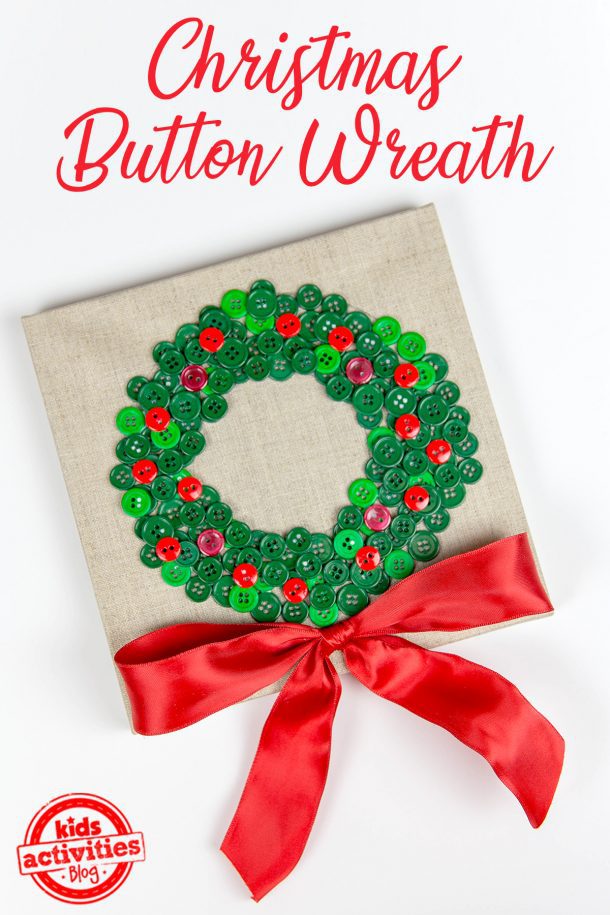
- Christmas Button Wreath
- Nativity Salt Dough Ornament
- Kid-Made Christmas Wreath
- DIY Tin Foil Ornaments
Did you and your family enjoy making this craft together? Comment down below! We’d love to hear.


