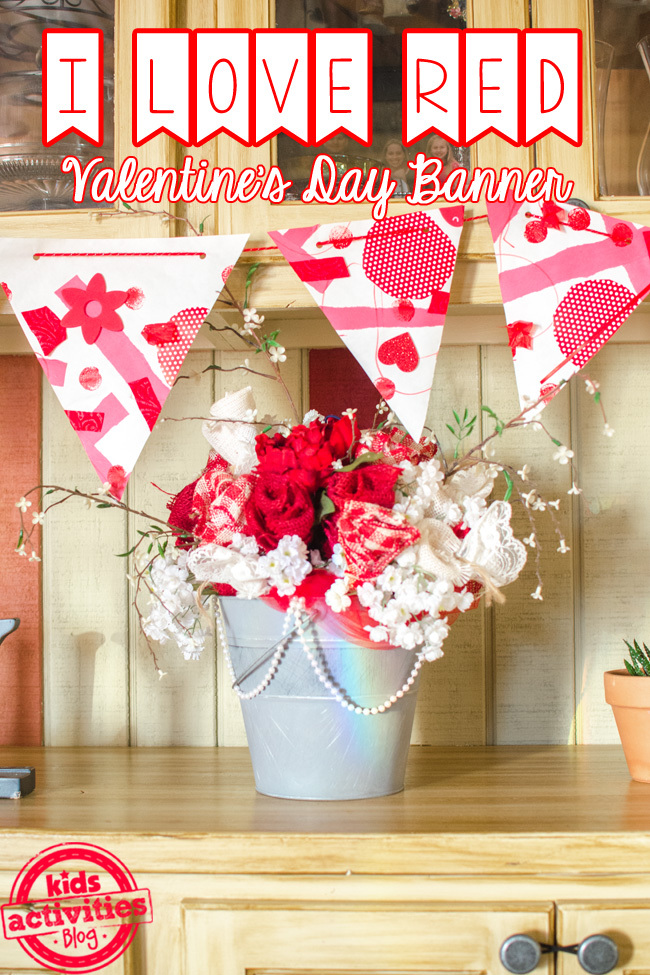
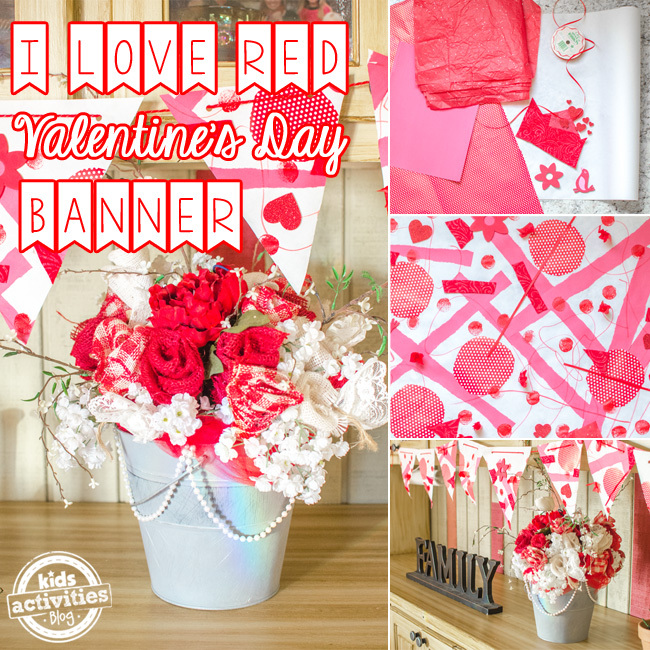
This red Valentine’s Day banner is a masterpiece of color and texture. And it makes use of materials you have!
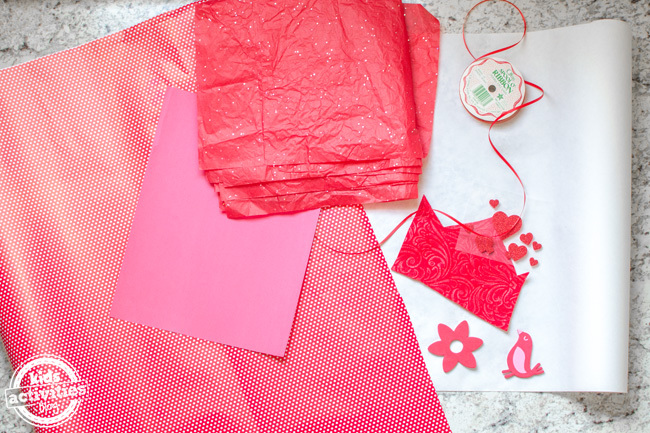
Teach your kids how to make use of all the odd bits and pieces of crafting material left over from other projects. It’s a perfect project if you have extra crafting supplies from Christmas. Use that red wrapping paper, tissue paper, ribbons, stamps, and tape! This is a one color collage – featuring RED.

Create a Valentine’s Day Banner With Leftover Red Christmas Supplies
The idea in this I Love Red! Valentines Day Banner is to narrow down your selection of materials and discover how much variety there is in what you can find.
It’s a fun challenge to set a specific parameter to your art project–in this case, focusing on the color red–and see how that challenges your kids to discover something different.
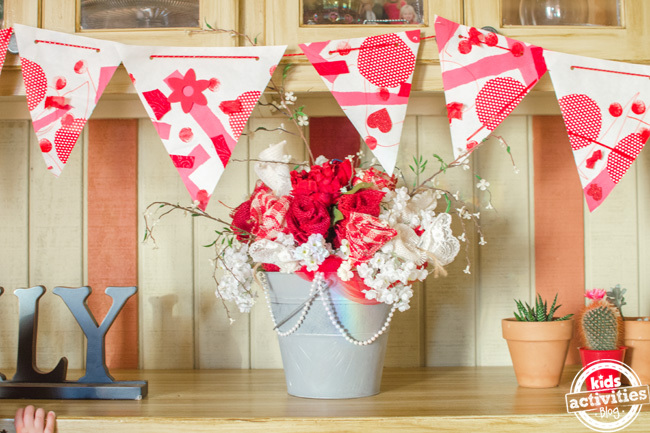
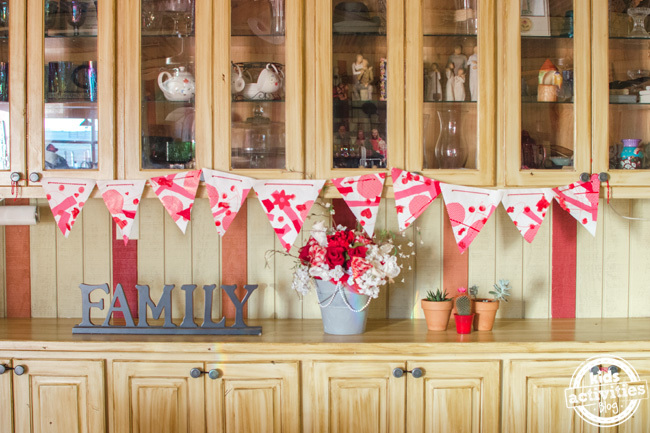
Here’s how to make our I Love Red! Valentines Day Banner:
Let’s get started!
Supplies
- Kraft paper or freezer paper
- Glue stick
- Hot glue gun and hot glue sticks
- Scissors
- Straight edge
- Pencil
- Hole punch
- 6 feet of cord or yarn to hang the banner up (we used red yard)
- Crafting materials with a focus on red (felt, foam stickers, wrapping paper, markers, crayons, buttons, etc)
Directions
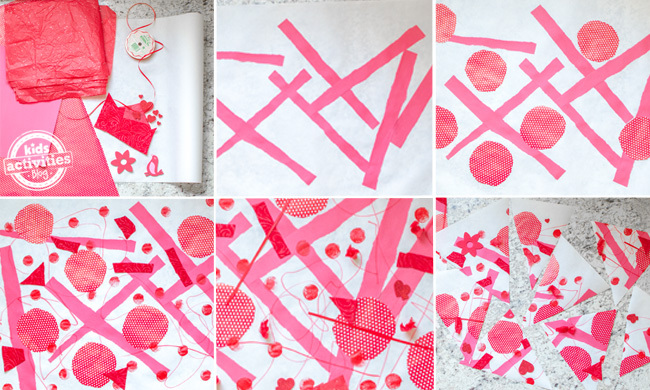
- First, using scissors, cut the Kraft paper or freezer paper about 3 feet long.
- Next, have your child arrange their choice of crafting materials onto the paper. They can do it one at a time or arrange it how they like first. It is really mostly up to them. Strips of paper and smaller items can be adhered with a glue stick, while heavier or bulkier items, such as fabric and ribbon, will need to be glued on with hot glue. You will probably have to help them if they need to use hot glue.
- Once all of the glue is dry, you are ready to create your I Love Red! Valentines Day Banner. You’ll need a straight edge and a pencil to draw out your banner first. I simply cut off the edges so they were even, then flipped the project over and very lightly drew out triangles using the straight edge. I was able to get 10 triangles for my banner.
Finish it off
- Finally, punch two holes at the top of each banner and slip the cord or yarn through each triangle-shaped banner. You can hang it anywhere you wish–above the fireplace, over a kitchen hutch, in your kid’s bedroom or even outside if the weather permits. Let your kid choose if you can’t decide!
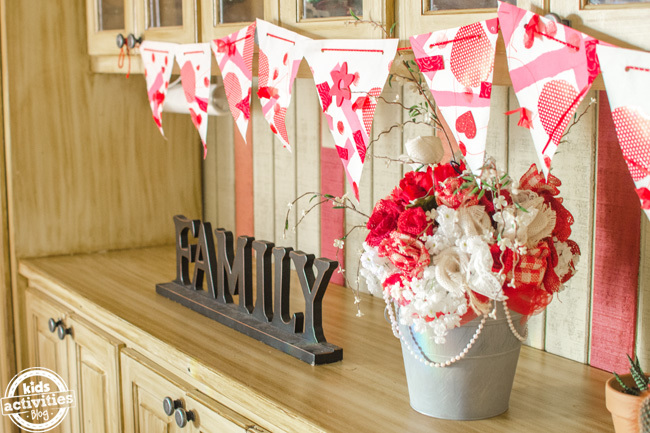
Banners for everything!
This is such a fun project and I can’t wait to make another one. This banner would be fun to make for St. Patrick’s Day, Easter, Fourth of July, Halloween, or Thanksgiving. Just change the color!
We hope you love making this I Love Red! Valentine’s Day Banner.
Another Valentine’s Day Craft
- Check out this Washi Tape Heart Craft for another fun Valentine’s Day craft!
Be sure to find our Facebook page for more crafting ideas and kids activities!
