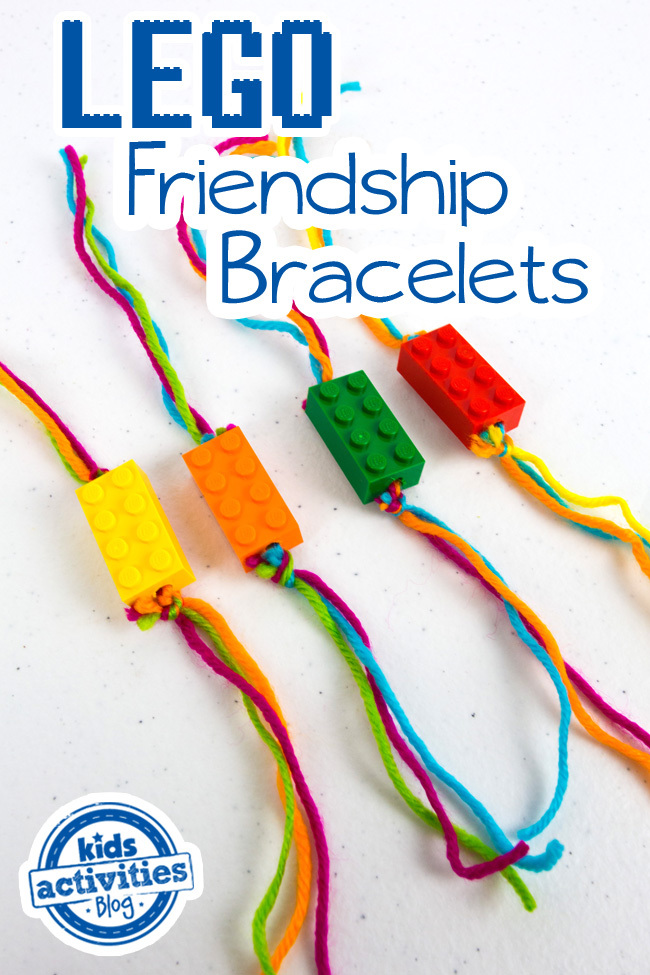
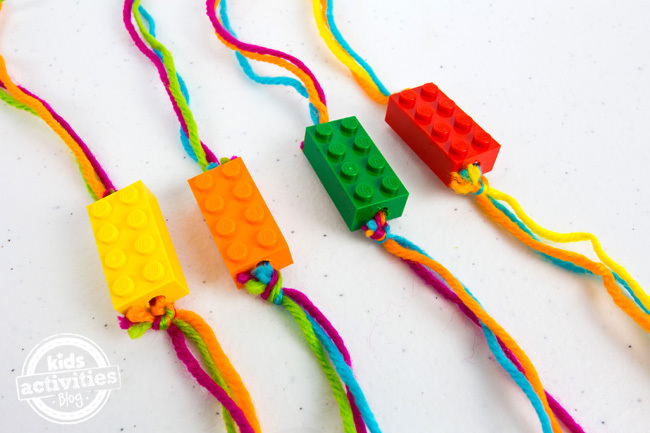
What better way to celebrate your bestie than with LEGO Friendship Bracelets?
This is one of our favorite LEGO ideas — you can use spare bricks from around your house to make them. These LEGO bracelets are colorful and festive and easy to make if you have an adult around to assist.

While many assume they are the perfect friendship bracelets for boys, girls know that LEGO friendship bracelets work for anyone! This is a simple craft for kids if the holes in the LEGO bricks are prepared ahead of time. If you are hosting a sleepover and need a fun friendship bracelet craft, this might just be the perfect solution.
This post includes affiliate links.
How to Make LEGO Friendship Bracelets
Supplies Needed
- Small LEGO bricks – we like the 2 x 4 stud size which we used in this example
- Dremel rotary tool or drill to create a hole in both ends of the LEGO brick
- Yarn needle
- Yarn
- Scissors
Directions
Watch this Short Tutorial Video on How to Make a LEGO Friendship Bracelet
Ok! Let’s make our LEGO bracelets! This will be fun.
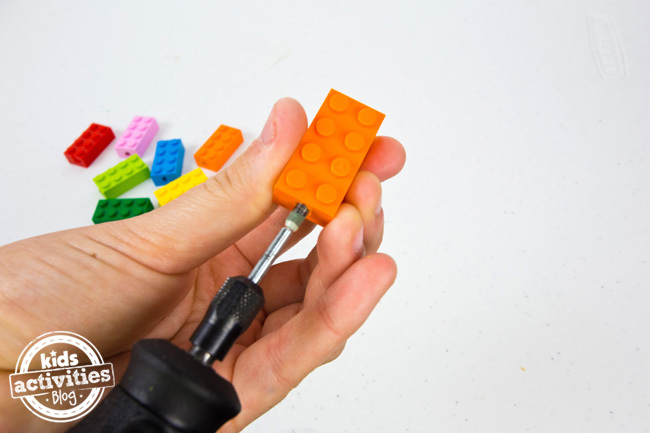
Step 1
Use the Dremel to drill a hole in each side of a LEGO brick.
Tip: If you are doing this craft with a group of kids or need it to be a less supervised event, then pre-drill the holes before you start.
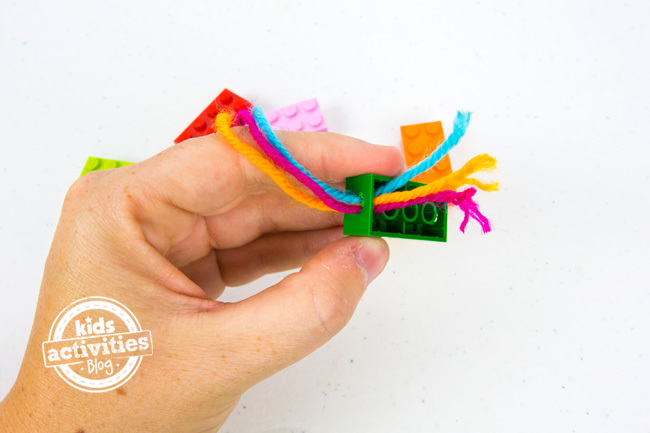
Step 2
String the yarn onto the needle and thread it through the hole, pulling the yarn through.
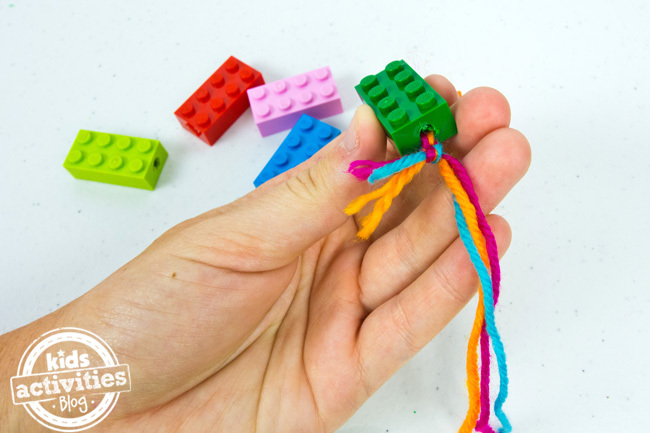
Step 3
Tie a knot into the yarn to attach it to the brick.
Repeat with the other side.
Step 4
Tie the friendship bracelets onto your child’s wrist for them to wear!
These would be great gifts at a LEGO party. And if you have extra bricks, you could even make some LEGO Hand Sanitizer.
{“@context”:”http:\/\/schema.org”,”@type”:”HowTo”,”name”:”LEGO Bracelets”,”author”:{“@type”:”Person”,”name”:”arena”},”datePublished”:”2021-07-07″,”yield”:”1″,”description”:”These LEGO bracelets are super easy to make and are the perfect friendship bracelets to make with your bestie or give as a present. Have an adult help drill the holes and then after that this is a simple kids craft perfect for your next sleepover.”,”about”:”DIY”,”image”:[“https:\/\/kidsactivitiesblog.com\/wp-content\/uploads\/2015\/08\/Lego-Friendship-Bracelets-Thumbnail-480×480.jpg”,”https:\/\/kidsactivitiesblog.com\/wp-content\/uploads\/2015\/08\/Lego-Friendship-Bracelets-Thumbnail-480×360.jpg”,”https:\/\/kidsactivitiesblog.com\/wp-content\/uploads\/2015\/08\/Lego-Friendship-Bracelets-Thumbnail-480×270.jpg”,”https:\/\/kidsactivitiesblog.com\/wp-content\/uploads\/2015\/08\/Lego-Friendship-Bracelets-Thumbnail.jpg”],”prepTime”:”PT5M”,”performTime”:”PT5M”,”totalTime”:”PT10M”,”tool”:[“Dremel rotary tool or drill”,”yarn needle”,”Scissors”],”supply”:[“LEGO brick – we used a 2 x 4″,”3 pieces of yarn about 15 inches in length cut in half”],”step”:[{“@type”:”HowToStep”,”text”:”Drill a small hole in both ends of the LEGO brick.”,”position”:1,”name”:”Drill a small hole in both ends of…”,”url”:”https:\/\/kidsactivitiesblog.com\/75008\/lego-friendship-bracelets\/#mv_create_330_1″},{“@type”:”HowToStep”,”text”:”Using the yarn needle thread three of the yarn pieces through the hole in the LEGO on each side.”,”position”:2,”name”:”Using the yarn needle thread three of the…”,”url”:”https:\/\/kidsactivitiesblog.com\/75008\/lego-friendship-bracelets\/#mv_create_330_2″},{“@type”:”HowToStep”,”text”:”Tie the yarn in place.”,”position”:3,”name”:”Tie the yarn in place.”,”url”:”https:\/\/kidsactivitiesblog.com\/75008\/lego-friendship-bracelets\/#mv_create_330_3″},{“@type”:”HowToStep”,”text”:”Tie the bracelet onto the child’s wrist.”,”position”:4,”name”:”Tie the bracelet onto the child’s wrist.”,”url”:”https:\/\/kidsactivitiesblog.com\/75008\/lego-friendship-bracelets\/#mv_create_330_4″}],”url”:”https:\/\/kidsactivitiesblog.com\/75008\/lego-friendship-bracelets\/”}
Yield: 1
LEGO Bracelets
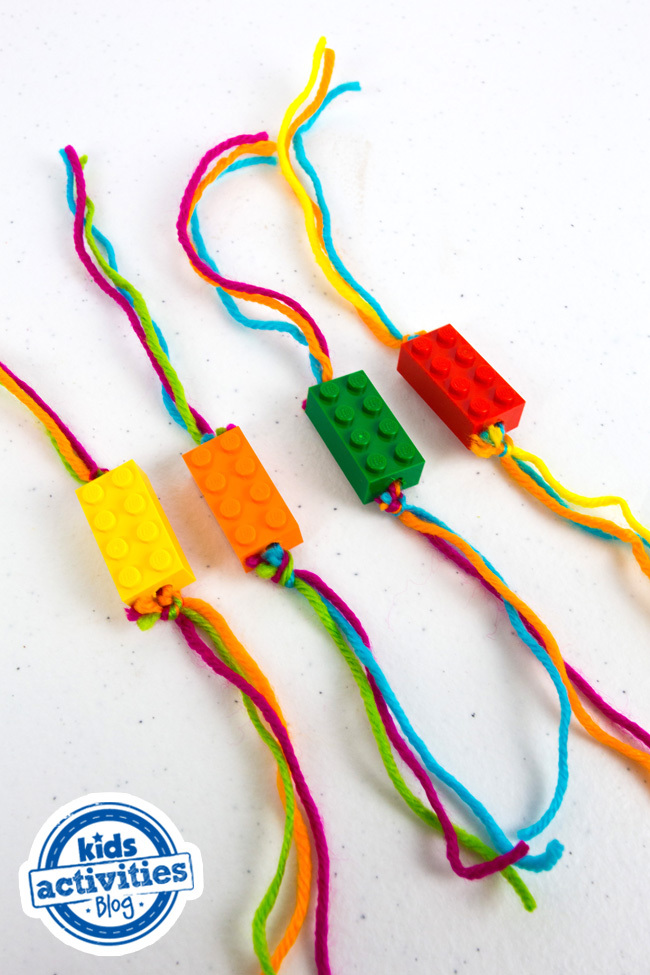
These LEGO bracelets are super easy to make and are the perfect friendship bracelets to make with your bestie or give as a present. Have an adult help drill the holes and then after that this is a simple kids craft perfect for your next sleepover.
Prep Time
5 minutes
Active Time
5 minutes
Total Time
10 minutes
Difficulty
Medium
Estimated Cost
$0
Materials
- LEGO brick – we used a 2 x 4
- 3 pieces of yarn about 15 inches in length cut in half
Tools
- Dremel rotary tool or drill
- yarn needle
- Scissors
Instructions
- Drill a small hole in both ends of the LEGO brick.
- Using the yarn needle thread three of the yarn pieces through the hole in the LEGO on each side.
- Tie the yarn in place.
- Tie the bracelet onto the child’s wrist.
More LEGO Fun from Kids Activities Blog
- Need help with your LEGO organization and LEGO storage? We got you covered.
- Make a LEGO spaceship…it is so fun.
- We have some LEGO building ideas that you will love.
- Grab some fun LEGO printables here.
- Have you seen this cool LEGO beehive.
- Check out the info we have on Costco LEGO bricks and all that fun.
- How to build a LEGO table from Ikea furniture. <–we have used ours for over 6 years and it is PERFECT.
Did your kids enjoy making these DIY Lego friendship bracelets?

