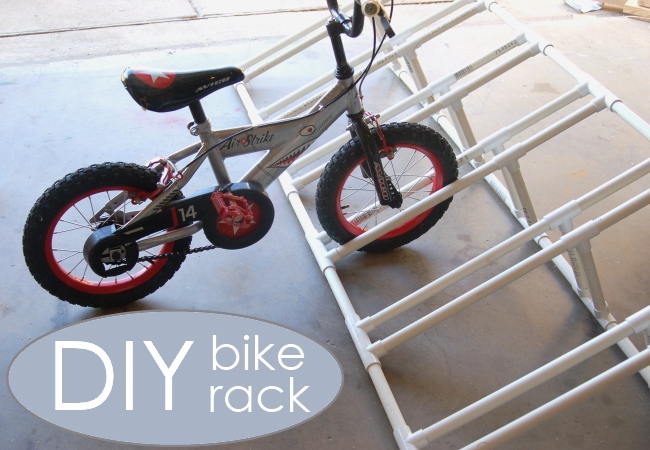
How to make a bike rack was something we decided we needed to learn…and fast!
Our garage was a crazy pile of bikes. With our six kids (and multiple sizes of bikes waiting to be “handed-down”), our garage looked like bikes were having babies. Bikes were everywhere.

DIY Bike Rack
The weather is nice again, so we will be spending quite a bit of time outside and as I mentioned before, bikes were everywhere. Even more so when kids leave them laying about when they’re done.
This DIY bike rack ensures there is a place for everyone’s bike, so there is no excuse for bikes to be laying in the yard, on the driveway, or in the walk way!
Homemade Bike Rack
We made our bike rack 6 across – and with gaps between the big bikes, wide enough to fit tricycles or a bike with training wheels.
Supplies Needed To Make This PVC Bike Rack:
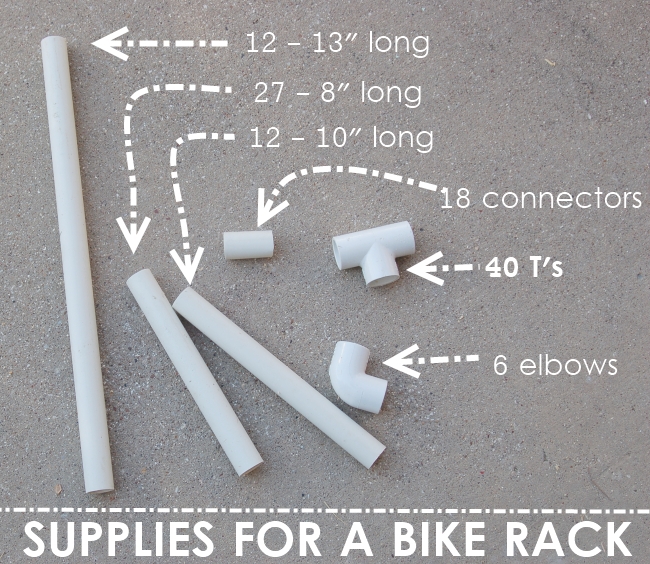
This photo is the supply list needed for a 6-bike rack.
*All PVC pipe that we used was an inch in diameter*
For every bike “section” – excluding the ends – you will need:
- 2 – 13″ long poles.
- 8 – T Connectors
- 4 – insert connectors
- 2 – 10″ long lengths
- 5 – 8″ long lengths
For each “end” you will replace 3 of the T connectors with Elbow pieces.
DIY Bike Rack
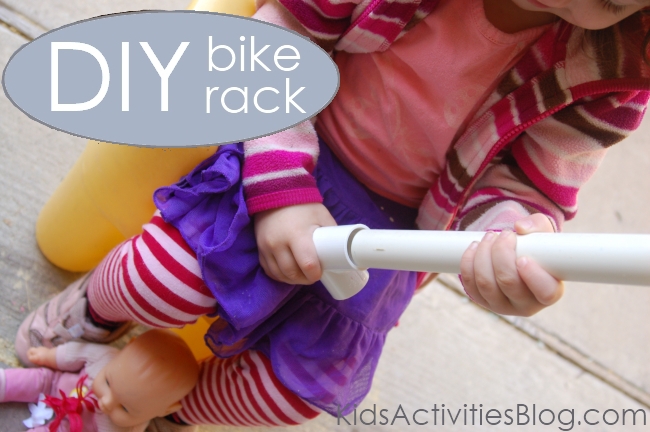
- To make the frame, start with the elbow piece, add a long piece into the elbow, a T and the 10″ length.
- Then add another elbow.
- You should have an “end pole” finished.
- Make two of these.
- Using the “T” piece, add a long length to the T, add another T, then a 10″ length and another “T”.
- Create as many of these as the sections “poles” you will need.
- Use the connectors and the 8″ lengths to connect the poles together until you have a frame made.
- To the center T’s add the 8″ segment so that the rack can lean back on them.
Viola.
Note:
We did not use any PVC pipe adhesive to attach the pipes together. Often we had to hammer them into place.
As we did not have a rubber mallet, we used an phone book as a cushion to protect the pipe and a regular hammer. The pieces fit pretty snug and should we decide that the bike unit it too big (or too small) we can easily adapt it.
My directions did not do this project justice. Please visit the original DIY Bike Rack post if you are confused. I loved the diagrams he included.
{“@context”:”http:\/\/schema.org”,”@type”:”HowTo”,”name”:”How to Make a Bike Rack”,”author”:{“@type”:”Person”,”name”:”Rachel”},”datePublished”:”2021-04-09″,”description”:”Simple directions on how to make a bike rack use PVC pipe that can be easily cut at home without a lot of equipment and connected for an organized garage.”,”about”:”craft”,”image”:[“https:\/\/kidsactivitiesblog.com\/wp-content\/uploads\/2013\/01\/bike-rack2-320×320.jpg”,”https:\/\/kidsactivitiesblog.com\/wp-content\/uploads\/2013\/01\/bike-rack2-480×360.jpg”,”https:\/\/kidsactivitiesblog.com\/wp-content\/uploads\/2013\/01\/bike-rack2-480×270.jpg”,”https:\/\/kidsactivitiesblog.com\/wp-content\/uploads\/2013\/01\/bike-rack2.jpg”],”totalTime”:”PT0S”,”supply”:[“For every bike \”section\” – excluding the ends – you will need:”,””,”2 – 13\” long poles.”,”8 – T Connectors”,”4 – insert connectors”,”2 – 10\” long lengths”,”5 – 8\” long lengths”],”step”:”To make the frame, start with the elbow piece, add a long piece into the elbow, a T and the 10\” length.\n\nThen add another elbow. You should have an \”end pole\” finished.\n\nMake two of these.\n\nUsing the \”T\” piece, add a long length to the T, add another T, then a 10\” length and another \”T\”. \n\nCreate as many of these as the sections \”poles\” you will need. \n\nUse the connectors and the 8\” lengths to connect the poles together until you have a frame made.\n\nTo the center T’s add the 8\” segment so that the rack can lean back on them.”,”url”:”https:\/\/kidsactivitiesblog.com\/24391\/how-to-make-a-bike-rack\/”,”aggregateRating”:{“@type”:”AggregateRating”,”ratingValue”:”4″,”reviewCount”:1}}
How to Make a Bike Rack

Simple directions on how to make a bike rack use PVC pipe that can be easily cut at home without a lot of equipment and connected for an organized garage.
Materials
- For every bike “section” – excluding the ends – you will need:
- 2 – 13″ long poles.
- 8 – T Connectors
- 4 – insert connectors
- 2 – 10″ long lengths
- 5 – 8″ long lengths
Instructions
To make the frame, start with the elbow piece, add a long piece into the elbow, a T and the 10″ length.
Then add another elbow. You should have an “end pole” finished.
Make two of these.
Using the “T” piece, add a long length to the T, add another T, then a 10″ length and another “T”.
Create as many of these as the sections “poles” you will need.
Use the connectors and the 8″ lengths to connect the poles together until you have a frame made.
To the center T’s add the 8″ segment so that the rack can lean back on them.
Notes
All PVC pipe that we used was an inch in diameter
Regardless, this DIY bike rack has been a lifesaver! My garage is a lot more neat and we don’t have to worry about bikes being left anywhere or laying out in the elements, because let’s be honest, bikes aren’t cheap.
I know it may seem intimidating with all the different parts, but I will reassure you it is not nearly as difficult as it may seem!
Looking For More DIY Projects? We’ve Got You!
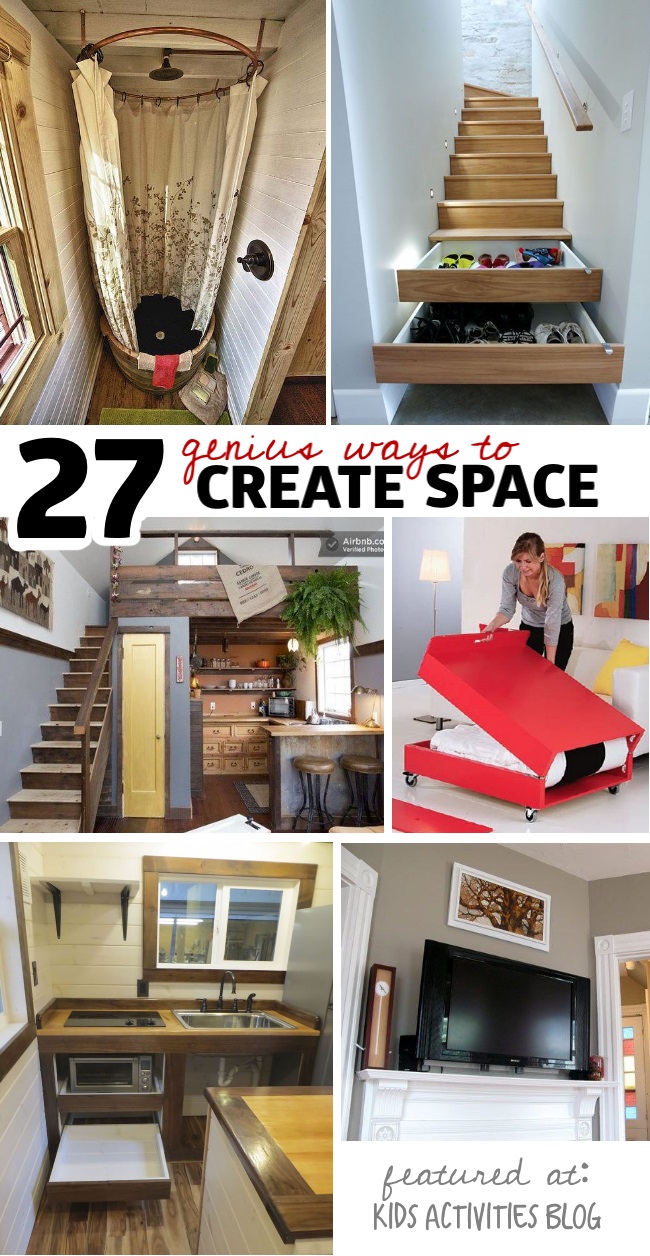
Get your tools ready! You’ll love these organization ideas for small spaces. Some ideas are easy, some are more complex, but you got this!
After a hard day of playing outside are there now muddy and dirty footprints everywhere? Whether from pets or kids, we got you covered with this homemade carpet cleaner.
Along with the mud, outdoors, and bike riding comes the smell of sweat and hot animals! Make your home smell fresh with this DIY air freshener.
After a long day of building bike racks and cleaning up treat yourself with this DIY cuticle cream and DIY bath melts. You deserve it!
How many bikes do you have in your garage?


